
Basics of Ren'Py #8
Side Images
In Basics #3, we've learned how to show images with the show statement. This is the more common way of displaying images, but there is another way - One that I personally prefer. It greatly fits games that aren't fully visual novels and include more gameplay.
An example of this is my (quite possibly) favorite Ren'Py game, Long Live The Queen. It's on Steam, is often on sale for just 4$, and is really a great game - I highly recommend you give it a go if you haven't before!
So, what are side images? They are an image automatically included in the say screen (next to the dialogue box) when a character speaks.
Before we start coding, let me include an example, one from the aforementioned Long Live The Queen. This isn't just because I'd want to advertise the game - LLTQ was where I first encountered side images, so I thought using it was fitting.
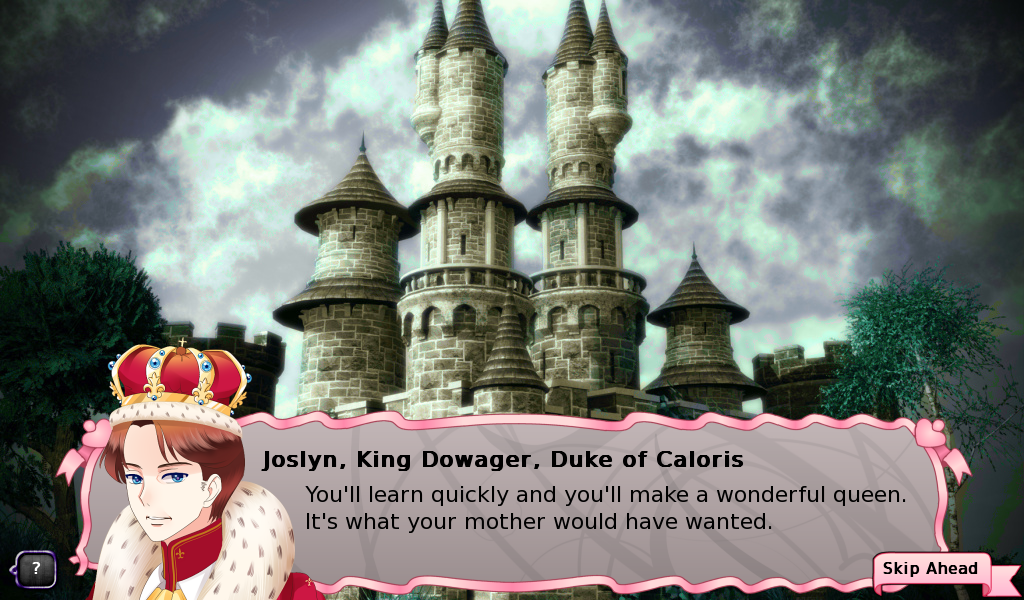
Joslyn, King Dowager, Duke of Caloris has a side image. Whenever he speaks, his image is displayed next to the dialogue box.
For my own examples, I got myself a character called Project: Alice from itch.io, made by Au Crowne. I'll use Alice's sprite along with four of her expressions in this tutorial: default, happy, very happy and worried.
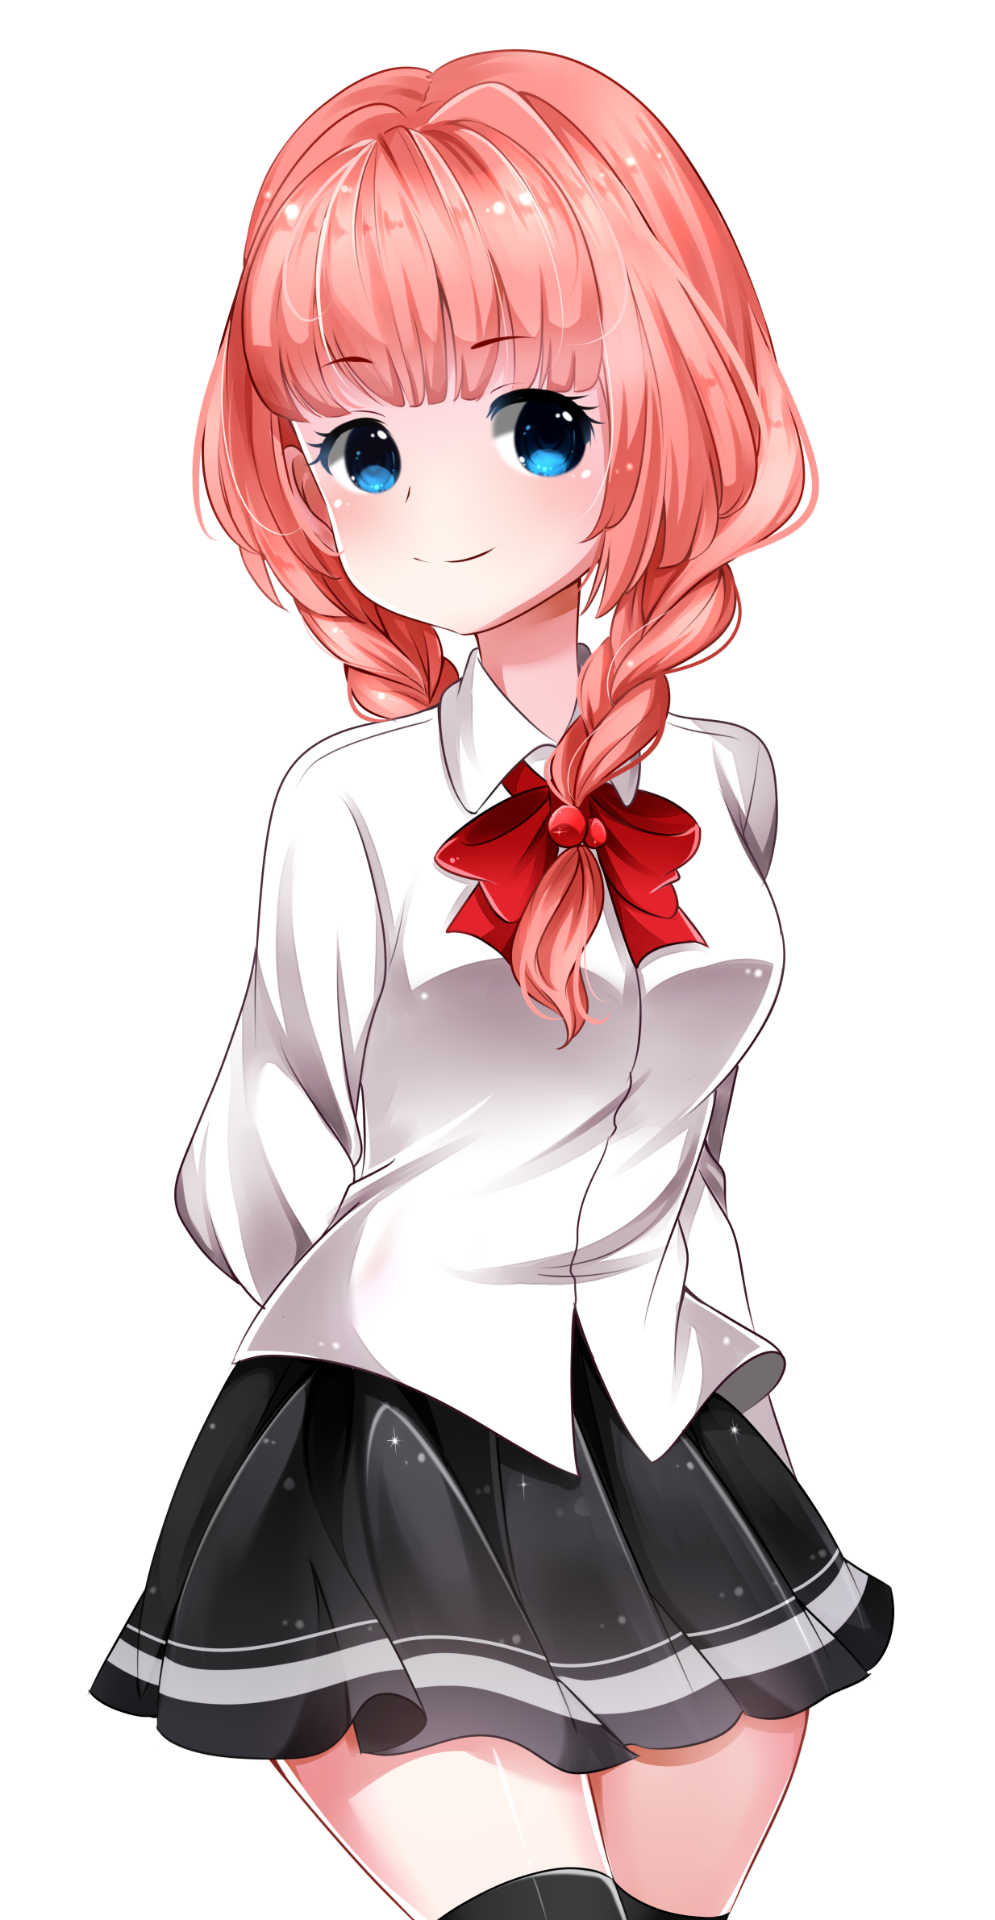
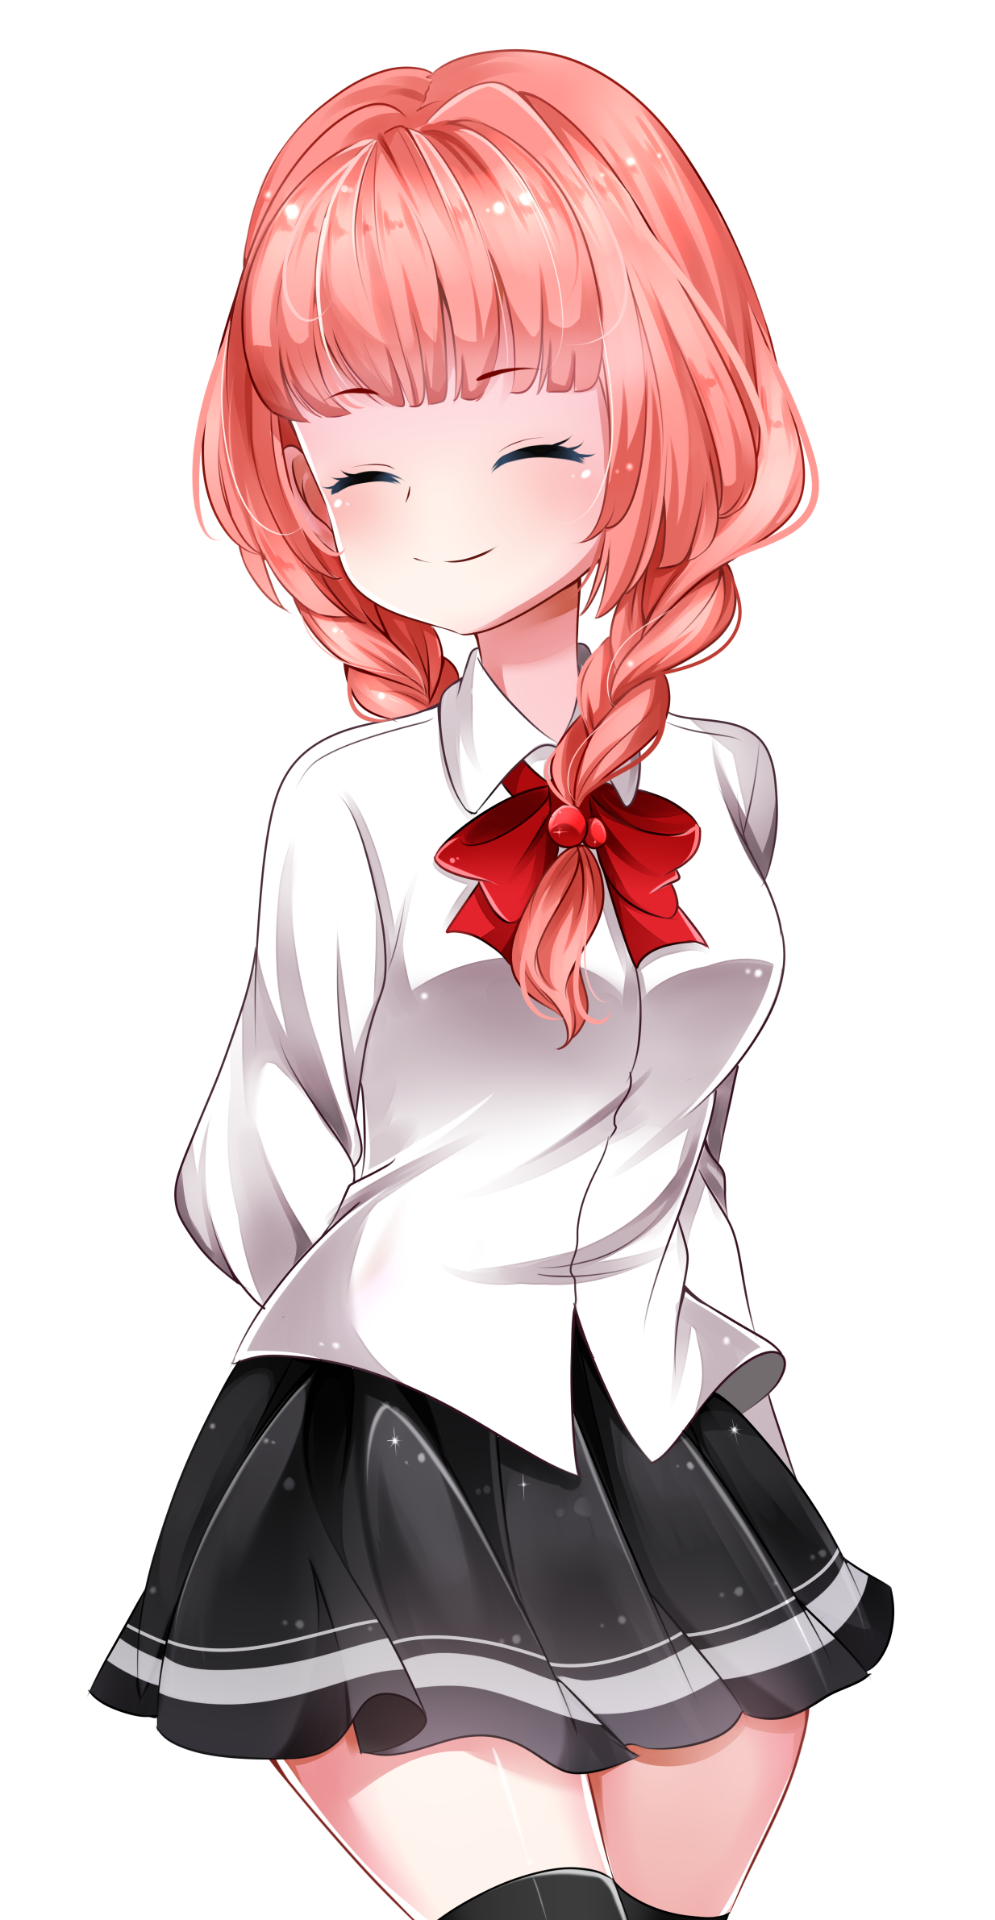
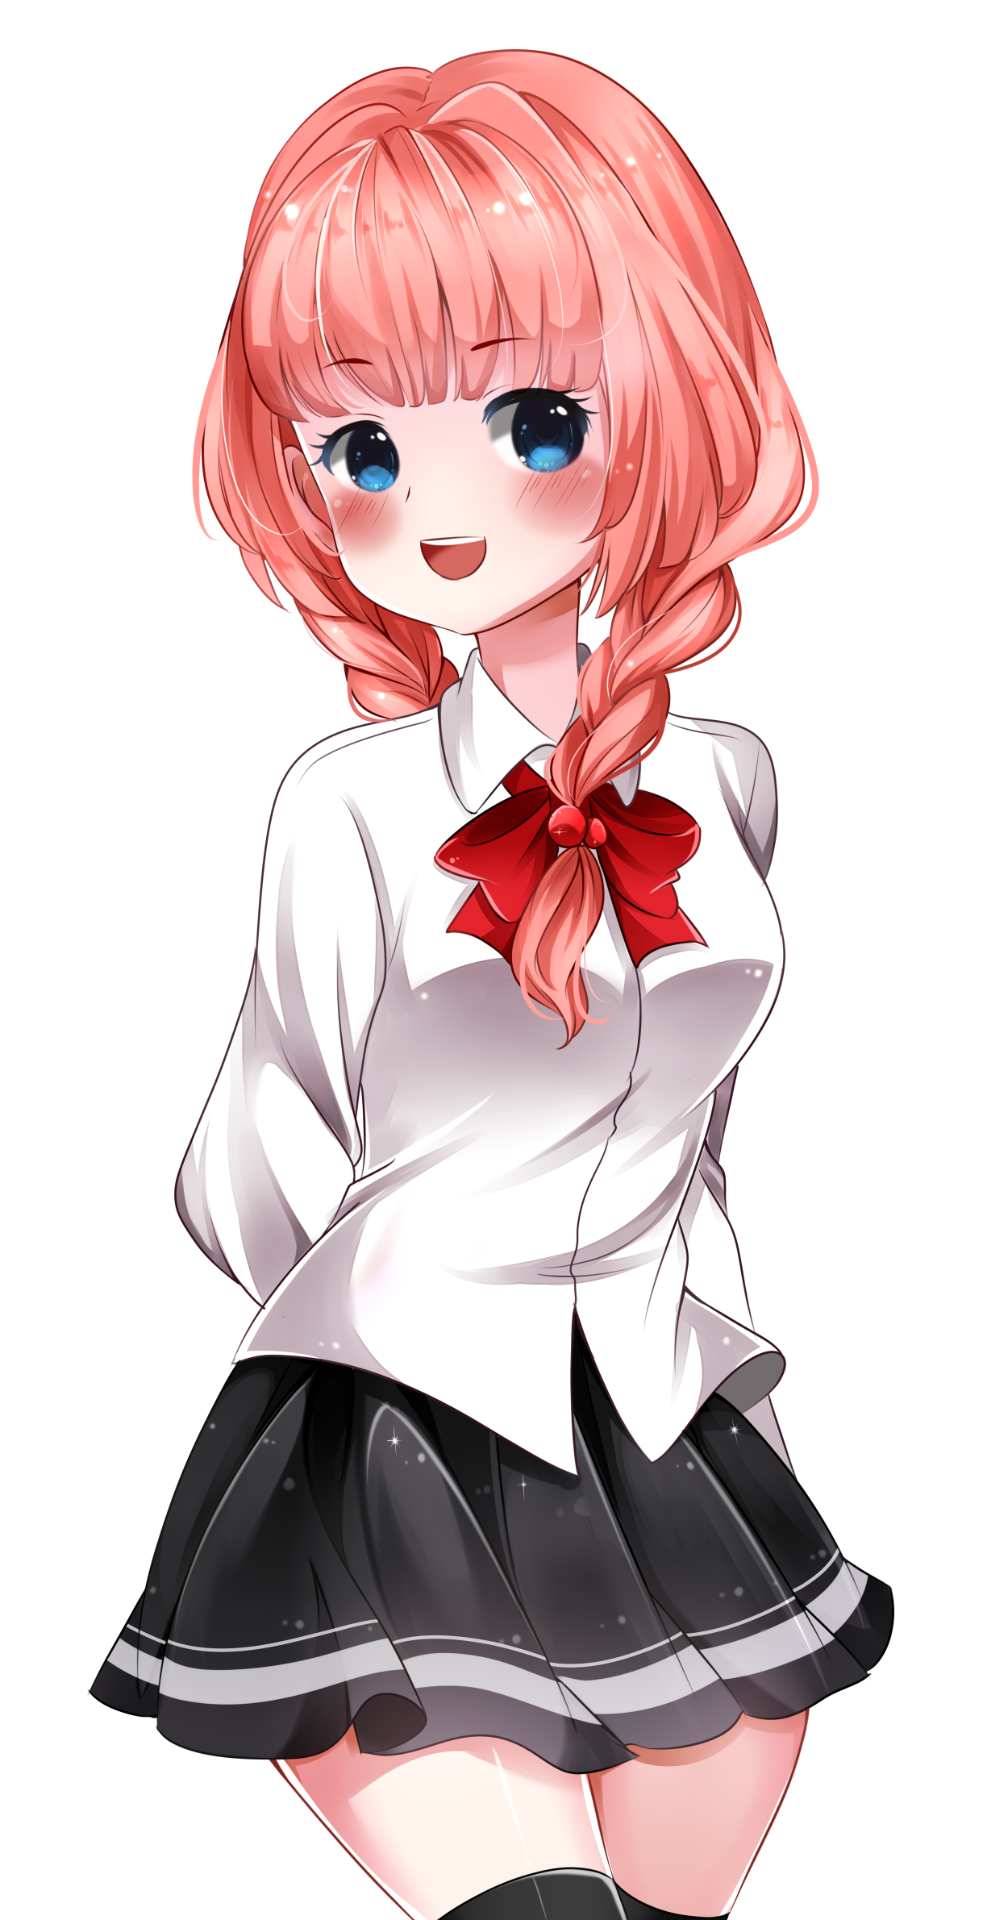
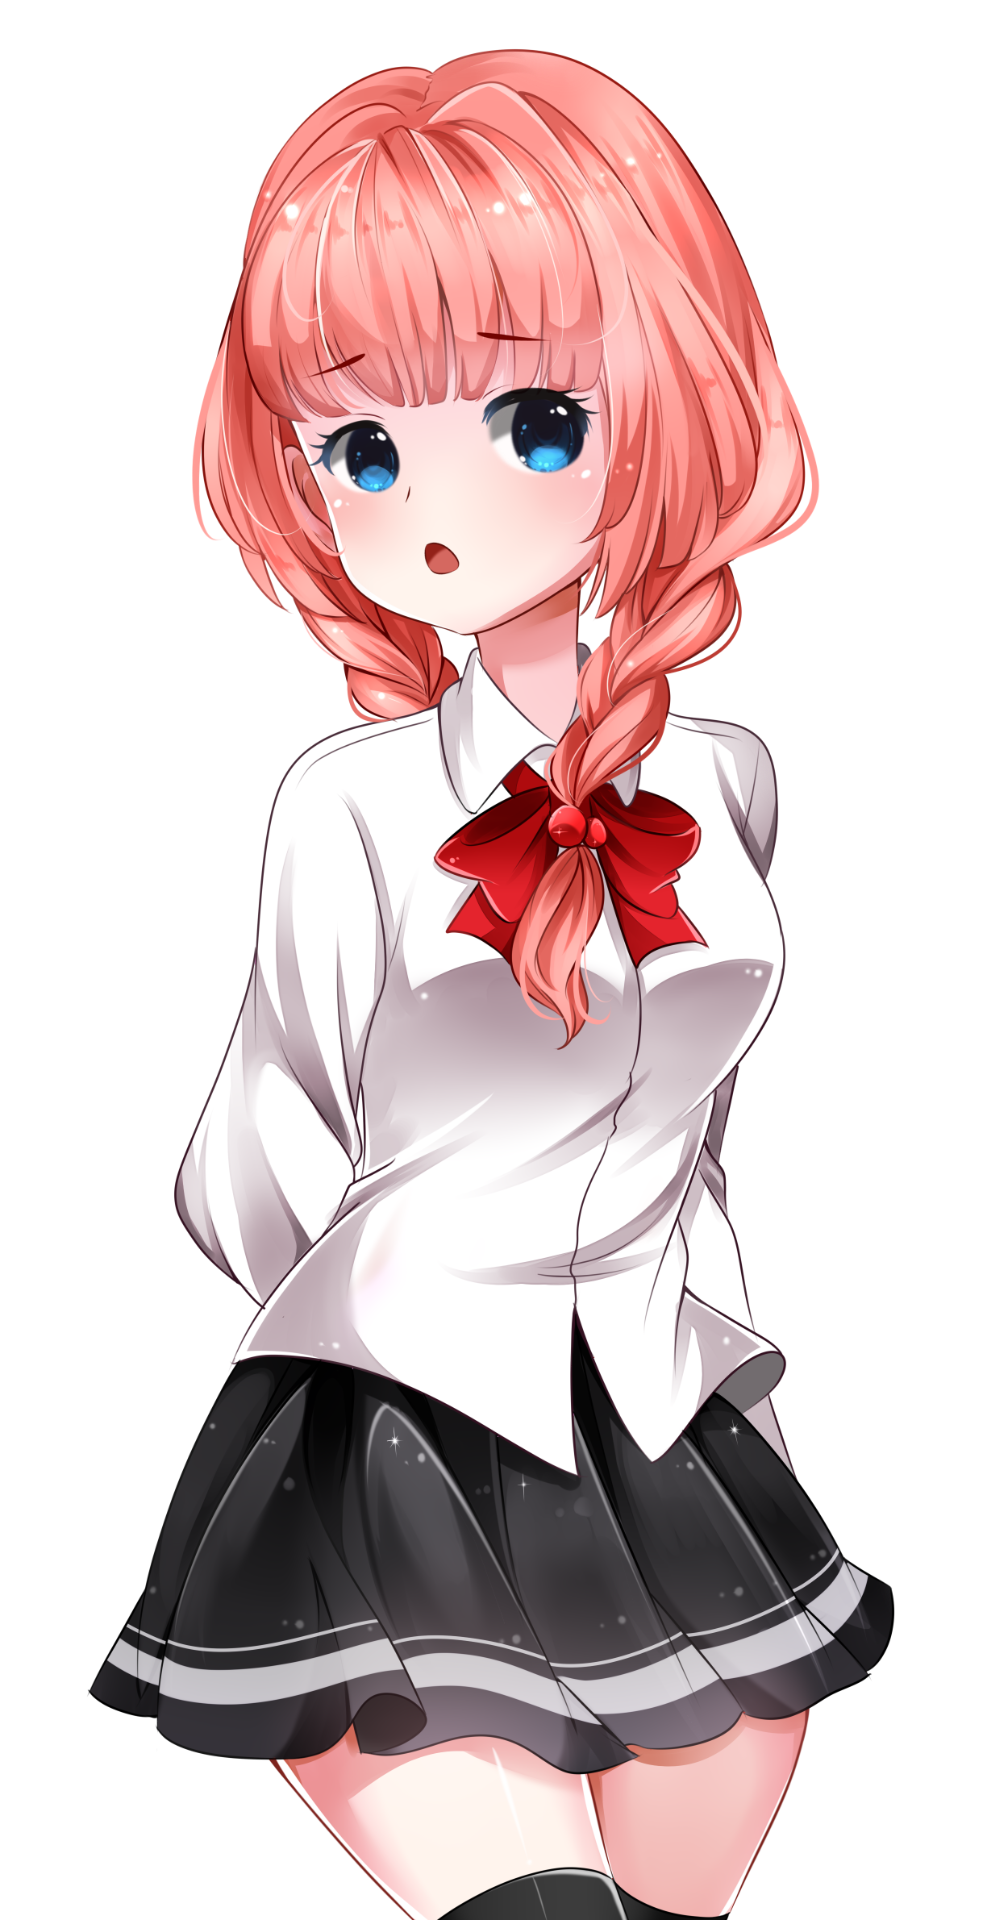
If you download her images, you'll see that they are extremely big - 2468 x 4762. I'll definitely need to resize those before using them. I could do it inside Ren'Py, but I'd have to do some math to make sure her aspect ratio stays the same. Instead, I'll just quickly run the four pictures through Paint 3D, where I can just tick the Lock Aspect Ratio option. I thought 373 x 720 looked reasonable.
Now, let's learn how to define side images and how to use them.
define a = Character("Alice", image = "alice")
image side alice = "images/PAliceDefault.png"
# The game starts here.
label start:
a "My name is Alice. I have my own side image!"
returnFirst, a Character is defined, with the image argument given the value of "alice". This means that all side images starting with alice will be tied to this Character.
Next, defining the image with the image statement. To tell Ren'Py that it's a side image, we have to start the name with side. After that, we follow up with the image name.
Because alice is also the exact name given in the Character's image argument, it means that this will be the image displayed when the character speaks and a more specific image is not given - her default side image, if you will. Usually, this is the neutral expression of the character.
Here's how it looks in-game now:
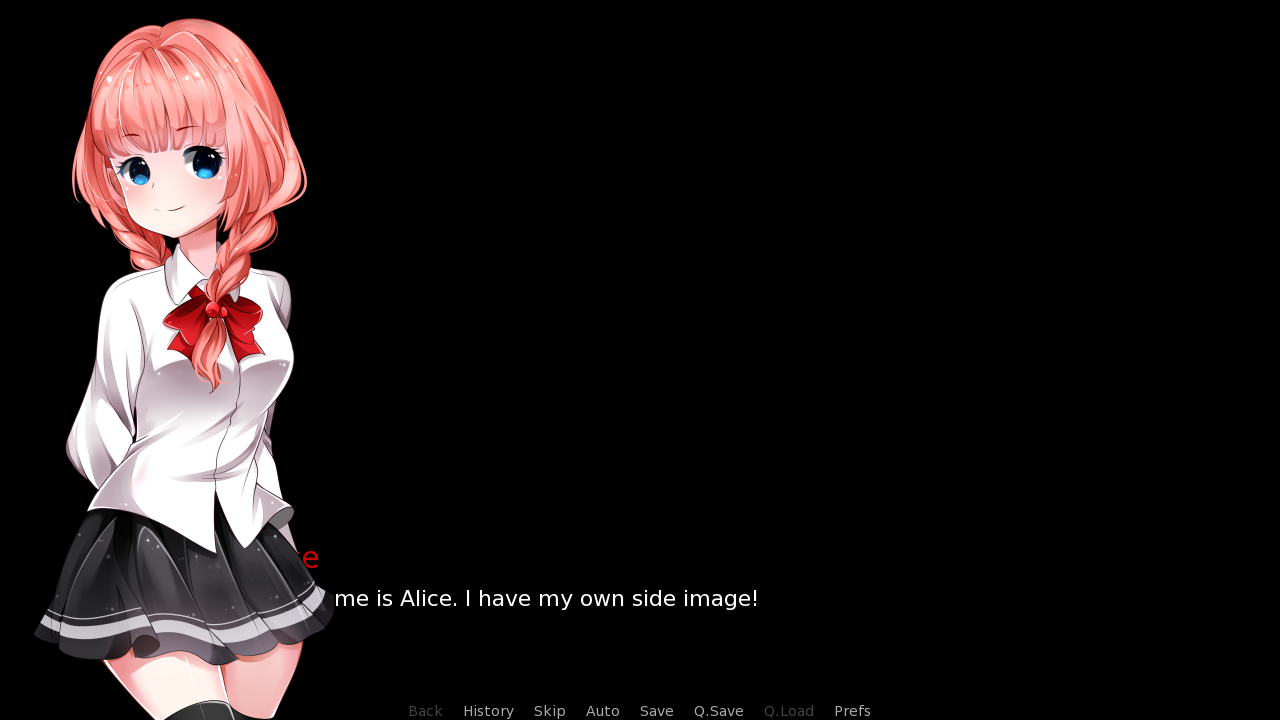
And there she is. As you can see, Alice is still pretty large, covering up her name and dialogue. That means, before we can continue, we have some things to set up. I think they're pretty self explanatory - I've included comments on where to find them and what to change them to.
## screens.rpy, line 117: Move the image down and to the left with offset.
## Default ------------------ add SideImage() xalign 0.0 yalign 1.0
## Changed to --------------- add SideImage() align (0.0, 1.0) offset (-40, 340)
##
## gui.rpy, line 107: Moving the name to the right.
## Default ------------------ define gui.name_xpos = 240
## Changed to --------------- define gui.name_xpos = 290
##
## gui.rpy, line 131: Moving the dialogue to the right.
## Default ------------------ define gui.dialogue_xpos = 268
## Changed to --------------- define gui.dialogue_xpos = 318
##
## gui.rpy, line 135: With dialogue moved, it has less space to display text.
## Default ----------------- define gui.dialogue_width = 744
## Changed to --------------- define gui.dialogue_width = 694The first line, the one from screens.rpy, is the one that adds a side image to the say screen. Originally, the image is just placed in the bottom left corner:
- add SideImage() xalign 0.0 yalign 1.0
I kept that, and added offset to move her down and to the left, so that she looks like a proper side image.
By the way, I talk about properties and the add statement in my Screen Language #1 tutorial!
After that, three variables that can be found in gui.rpy follow:
- name_xpos, which we increase to move the name more to the right.
- dialogue_xpos, which we increase to move the dialogue more to the right.
- dialogue_width, which we decrease to makes sure dialogue doesn't go offscreen.
And here's how it looks after the four changes!
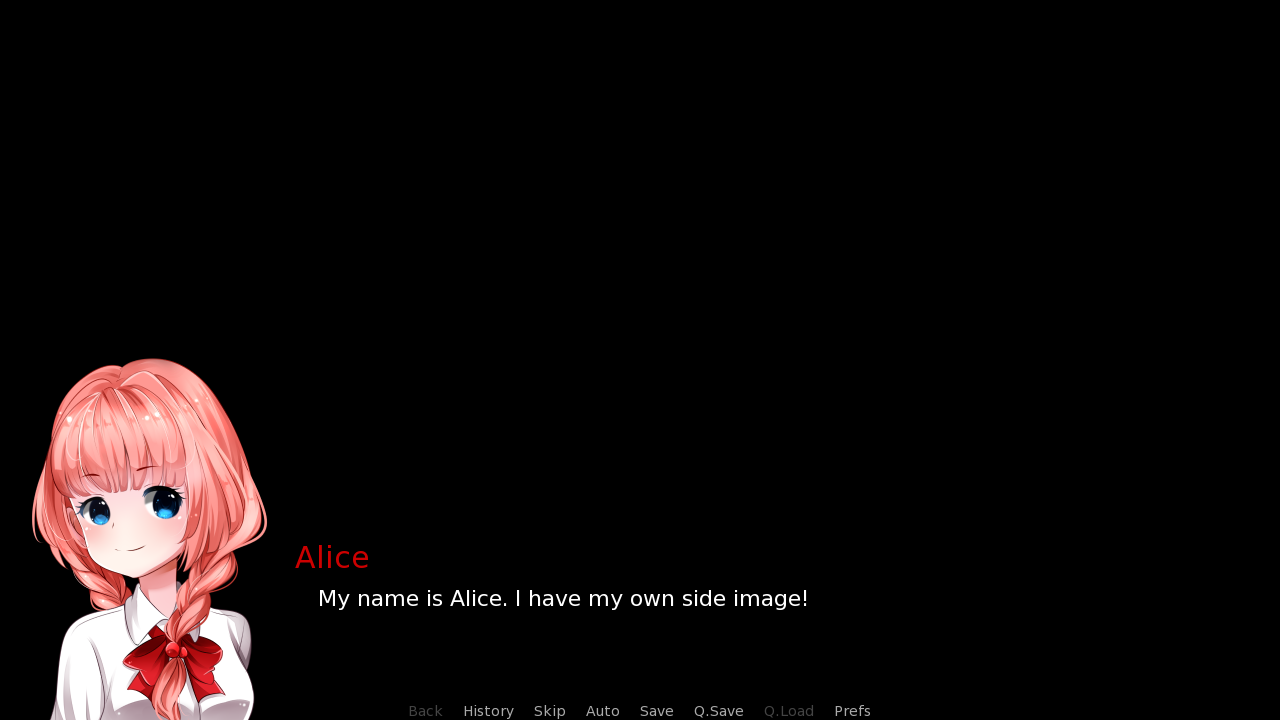
Amazing.
Alright, let's add more face expressions and learn how to switch them.
define a = Character("Alice", image = "alice")
image side alice = "images/PAliceDefault.png"
image side alice happy = "images/PAliceHappy.png"
# The game starts here.
label start:
a "This is my neutral image."
a happy "This is my happy image."
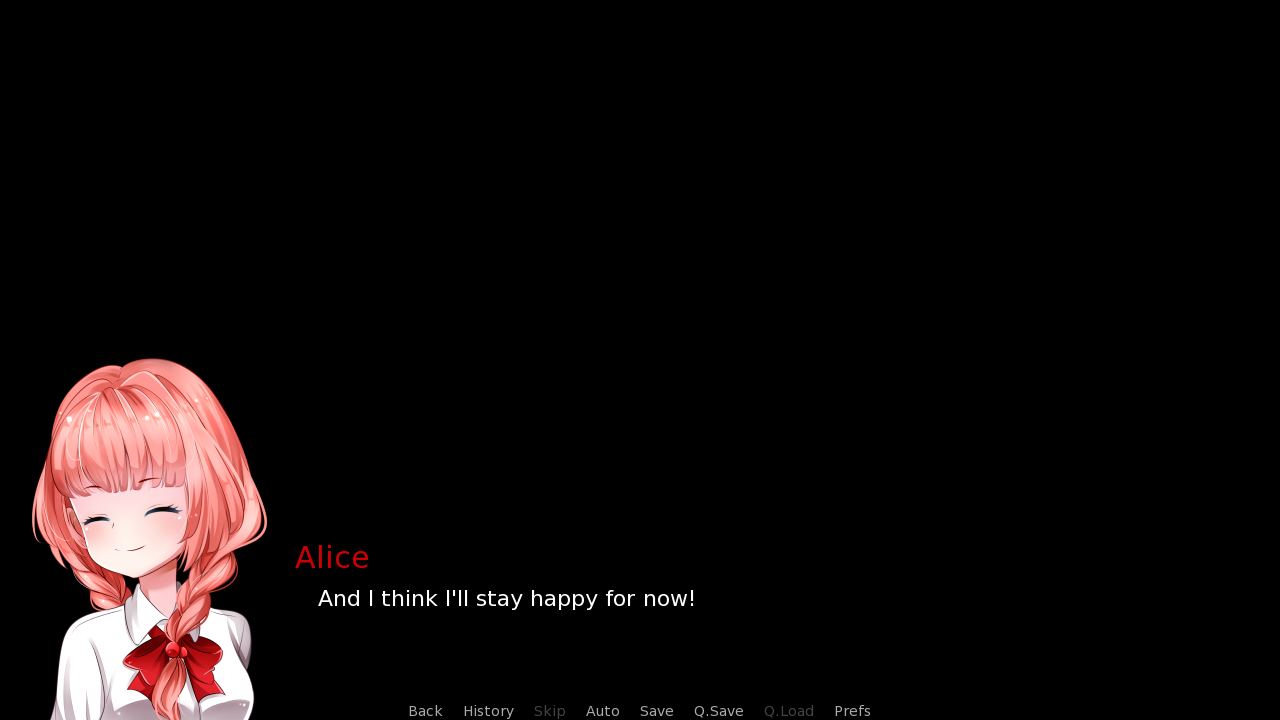
a "I think I'll stay happy for now!"
returnWe've defined another side image. It is specified to be the happy version of alice.
Here I need to say that in technical terms, alice is a tag and all the names that follow, like happy, are attributes. Afterward an image with an attribute is defined, we can just include the attribute in the dialogue line, and the image will change.
Notice that the side image will not go back to neutral alice on the third line, even though I did not include the happy attribute that time. The side image will stay the same until changed again.
So, how do get back to the neutral alice image? Well, one way is to include an attribute that isn't defined. We haven't got the worried image defined yet, so if we write it on the dialogue line...
define a = Character("Alice", image = "alice")
image side alice = "images/PAliceDefault.png"
image side alice happy = "images/PAliceHappy.png"
# The game starts here.
label start:
a happy "I start happy in this example."
a worried "I'm now worried, but I don't have the image for it!"
a "Because of that, my default image got shown instead."
return...it will default to the image defined with only the alice tag:
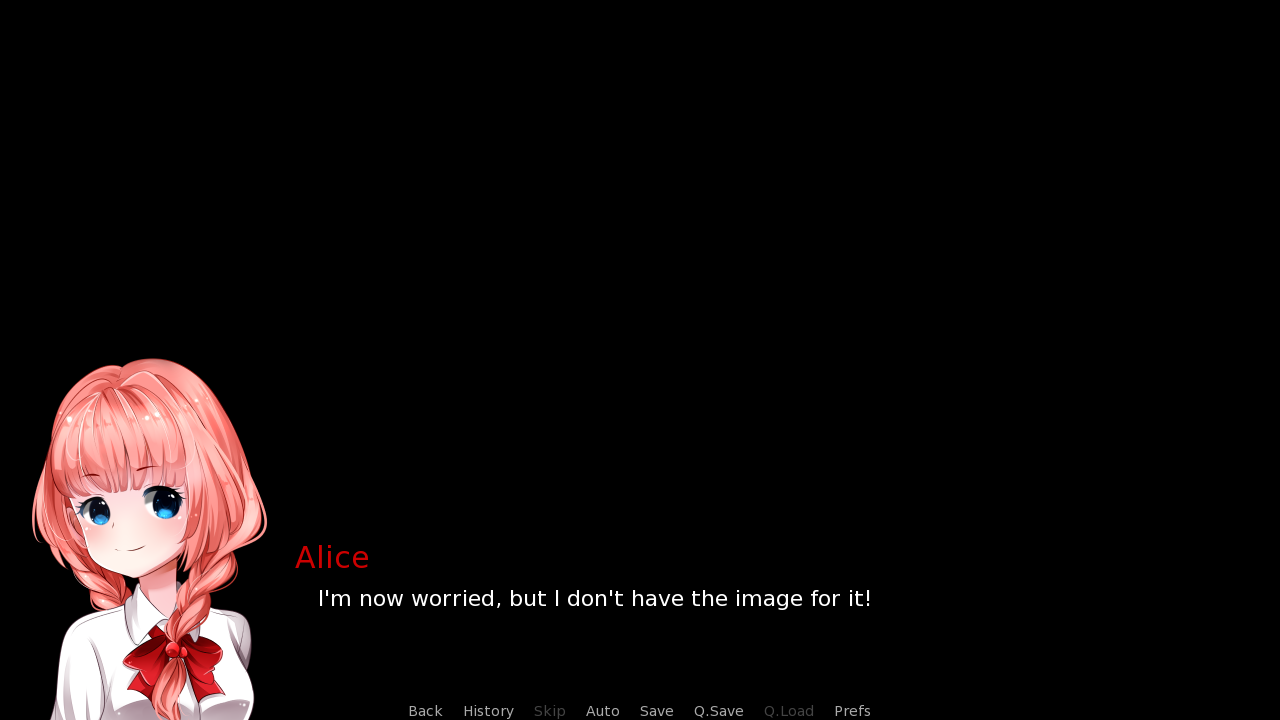
That's the sloppy way. Next, a proper one. An absolutely amazing one. I learned this couple of days ago, a feature that's not even in the official documentation yet. Here, ladies and gentlemen, is an absolute gem of a feature:
define a = Character("Alice", image = "alice")
image side alice = "images/PAliceDefault.png"
image side alice happy = "images/PAliceHappy.png"
image side alice very happy = "images/PAliceHappyBlush.png"
# The game starts here.
label start:
a very happy "I feel very happy on this line!"
a -very "I still feel happy, although not as much."
a -happy "And here I'm back to my default self."
returnBy following up the character name with an attribute preceded by the minus sign, it will remove that attribute from the currently shown image. In this example, we've defined a third side image, alice very happy, and we start by showing it on the first line.
Second line removes the very attribute, which leaves only happy - thus, alice happy will be the image shown.
And finally, on the third line, the happy attribute is removed as well, leaving only the base image, the one with only the alice tag.
What's cool is that you can remove multiple attributes at a time, by including multiple ones of them preceded by the minus sign on one line:
define a = Character("Alice", image = "alice")
image side alice = "images/PAliceDefault.png"
image side alice happy = "images/PAliceHappy.png"
image side alice very happy = "images/PAliceHappyBlush.png"
# The game starts here.
label start:
a very happy "I feel very happy on this line!"
a -very -happy "And here I'm back to my default image."
returnAside from the minus sign, there's one more... Um...
Huh.
I don't know what to call these. Docs do not have a name for them either, so I'll just call them what they are - signs.
Aside from the minus sign, there's one more that we can use, the at sign.
What this one does is add an attribute for that line only - one line after, it will revert back to the previous side image:
define a = Character("Alice", image = "alice")
image side alice = "images/PAliceDefault.png"
image side alice happy = "images/PAliceHappy.png"
image side alice very happy = "images/PAliceHappyBlush.png"
# The game starts here.
label start:
a happy "Here, I feel happy."
a @very "Oh look, a butterfly!"
a "It was pretty, but already flew away. "
returnAnd after that line, it will go back to the previous image:

These two signs can be combined, as well as used simultaneously.
To combine them, write them both before one attribute. As an example, @-happy will remove the happy attribute for that one line.
By using them simultaneously, I mean using at with one attribute and minus with another attribute on the same line.
The following example has a fourth image defined. It has a strange name for the sake of the example, alice very. Let's go through the dialogue lines:
- First line shows the alice happy image.
- Second line first removes the happy attribute, leaving only the alice tag, before...
- ...adding the very attribute for that one line, resulting in the alice very image being shown.
- On the final line, the at sign is reverted, and with no attributes left, the image shown is the default alice.
define a = Character("Alice", image = "alice")
image side alice = "images/PAliceDefault.png"
image side alice happy = "images/PAliceHappy.png"
image side alice very happy = "images/PAliceHappyBlush.png"
image side alice very = "images/PAliceWorried.png"
# The game starts here.
label start:
# alice happy
a happy "I'm happy on this line."
# alice very
a -happy @very "Here I'm no longer happy, I'm \"very\" instead."
# alice
a "And here I've moved on from \"very\" back to my default."
returnImportant thing to note when using the signs simultaneously is that their order matters. Even though they are with separate attributes and logically shouldn't affect each other, the at sign affects all the signs that follow it. For example:
- -happy @very will remove the happy attribute permanently and add the very attribute for that line only.
- @very -happy will add the very attribute and remove the happy attribute, both for that line only.
And I think that about does it for this tutorial! Wow, there was a lot of information here.
Time for the now summary. What have we gone over today?
- What side images are
- How to show side images
- How to change properties of a side image in the say screen
- How to adapt dialogue to the side image with variables from gui.rpy
- Defining side images with different attributes
- Using attributes in dialogue lines
- What happens when you include an attribute that doesn't have an image defined
- How to use the minus sign to remove attributes from the side image
- How to use the at sign to apply attributes to only the current line
- How to use the minus and at signs simultaneously
And that's it from me - almost.
I have written a part that discusses all the configuration variables related to side images, but I've determined that it is too technical to fit in with the rest of this tutorial. Still, it could be of use to someone, and since I've already written it anyway, I might as well include it. It will be at the bottom of the page.
For the casual reader though, this is the end.
This one has been a joy to write. I haven't touched side images in legitimately three years, so not only was this a refresher, I had to do research and ask the higher ups for details - and I like learning new things. Hopefully you've learned some new things from this tutorial, too!
Below are all the settings related to side images. They can be found here, along with the related python functions. In writing this one section, I got ideas for three separate tutorials. I'll mark those spots with ***. As if The Waiting List needed more entries.
There are six configuration variables in total, all in the config namespace:
- config.side_image_tag, which sets a side image tag to be tracked at all times. This can be used to show a side image of one character while another one is speaking.
This can also be achieved on the fly with a function. *** - config.side_image_only_not_showing, which only allows the side image to show when a different image of the speaking Character isn't already present - one that was shown with a show statement.
Side images are closely tied to other images defined with the image statement that are shown with the show statement, and they can mess each other up occasionally. Though it can also be an advantage, for the most part, I'd recommend naming your side images differently than your "regular" images. *** - config.side_image_prefix_tag, which specifies what tag should be used in the image statement to let Ren'Py know that it's a side image. It is side by default, and I don't really know why you'd want to change it.
- config.side_image_null. This is the Null displayable (first mentioned in Screen Language #1) that is used when no side image is currently being shown. This could be changed for spacing purposes, though I can't think of a situation where you'd need to.
- config.side_image_same_transform. This is the transition used when the attributes change when they belong to the same Character - i.e. when a face expression changes. There isn't one by default.
- config.side_image_change_transform. This is the transition used when the current side image, belonging to one Character, changes to a different side image, belonging to a different Character. There also isn't one by default.
For the last two, you can learn about transitions here, since I haven't covered them on my website. ***, and that's actually not a bad idea for Basics #9.