
Screen Language #8 - Coding GUI #2
say screen - The Dialogue Box
Coding GUI #1 was so much fun to write, I started writing this one just two days after the posting the former. I can't wait to show you how the dialogue box works and how to change it into the Pleasant Afternoon assets. I will need to resize some of those assets, so I'll also show you how to do that, using the image statement.
First, let's analyse the default dialogue box screen. The screen where dialogue is kept is named say, so go grab that. We'll treat it like we did the Main Menu - we'll move the code into a separate file inside the afternoonGui folder, which I have called dialogue_box.rpy.
The original code is in screens.rpy on line 85, and along with the styles looks like so:
## Say screen ##################################################################
##
## The say screen is used to display dialogue to the player. It takes two
## parameters, who and what, which are the name of the speaking character and
## the text to be displayed, respectively. (The who parameter can be None if no
## name is given.)
##
## This screen must create a text displayable with id "what", as Ren'Py uses
## this to manage text display. It can also create displayables with id "who"
## and id "window" to apply style properties.
##
## https://www.renpy.org/doc/html/screen_special.html#say
screen say(who, what):
style_prefix "say"
window:
id "window"
if who is not None:
window:
id "namebox"
style "namebox"
text who id "who"
text what id "what"
## If there's a side image, display it above the text. Do not display on the
## phone variant - there's no room.
if not renpy.variant("small"):
add SideImage() xalign 0.0 yalign 1.0
## Make the namebox available for styling through the Character object.
init python:
config.character_id_prefixes.append('namebox')
style window is default
style say_label is default
style say_dialogue is default
style say_thought is say_dialogue
style namebox is default
style namebox_label is say_label
style window:
xalign 0.5
xfill True
yalign gui.textbox_yalign
ysize gui.textbox_height
background Image("gui/textbox.png", xalign=0.5, yalign=1.0)
style namebox:
xpos gui.name_xpos
xanchor gui.name_xalign
xsize gui.namebox_width
ypos gui.name_ypos
ysize gui.namebox_height
background Frame("gui/namebox.png", gui.namebox_borders, tile=gui.namebox_tile, xalign=gui.name_xalign)
padding gui.namebox_borders.padding
style say_label:
properties gui.text_properties("name", accent=True)
xalign gui.name_xalign
yalign 0.5
style say_dialogue:
properties gui.text_properties("dialogue")
xpos gui.dialogue_xpos
xsize gui.dialogue_width
ypos gui.dialogue_yposResult of this code below. It's a bit awkward that we can't see the dialogue box right now, since it's black just like the background.
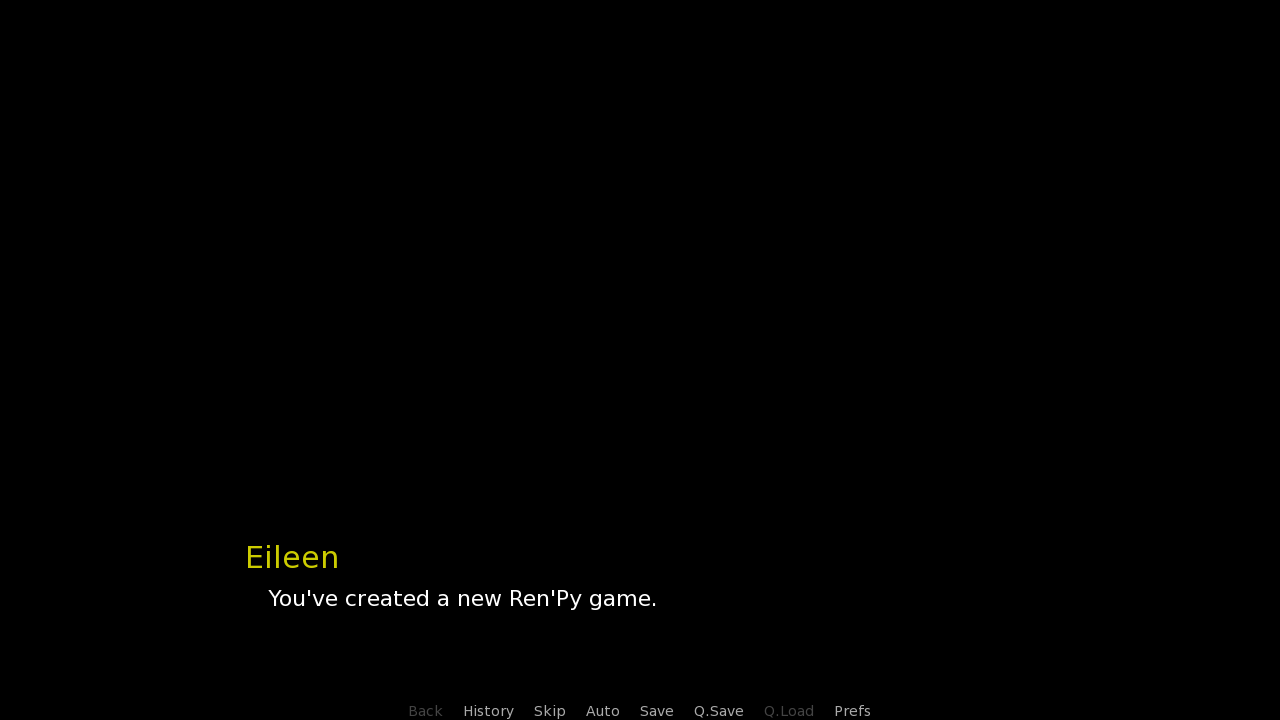
Let's explore the default styles included. Here, I'll separate the code of the styles to make it easier and include some comments.
style window is default # Dialogue box
style say_label is default # Name text
style say_dialogue is default # Dialogue text
style say_thought is say_dialogue # Dialogue text when Narrator
style namebox is default # Name box
style namebox_label is say_label # ???
# Textbox
style window:
xalign 0.5
xfill True
yalign gui.textbox_yalign
ysize gui.textbox_height
background Image("gui/textbox.png", xalign=0.5, yalign=1.0)
# Namebox
style namebox:
xpos gui.name_xpos
xanchor gui.name_xalign
xsize gui.namebox_width
ypos gui.name_ypos
ysize gui.namebox_height
background Frame("gui/namebox.png", gui.namebox_borders, tile=gui.namebox_tile, xalign=gui.name_xalign)
padding gui.namebox_borders.padding
# Text - Name
style say_label:
properties gui.text_properties("name", accent=True)
xalign gui.name_xalign
yalign 0.5
# Text - Dialogue
style say_dialogue:
properties gui.text_properties("dialogue")
xpos gui.dialogue_xpos
xsize gui.dialogue_width
ypos gui.dialogue_yposThere are six styles included, and four of the six are derived from the default style, which sets up the most basic text properties - like the default color and font of texts - based on information it takes from gui.rpy.
- window is the style of the dialogue box
- say_label is the style of the name text
- say_dialogue is the style of the dialogue text
- say_though is the style of the dialogue text either when when no Character is provided, or a Character whose name is the value of None is - In other words, dialogue text of a Narrator
- namebox is the style of the name box
- namebox_label is an outdated style, which probably used to keep name text, like say_label does now. A lot of outdated stuff in Ren'Py is kept, so that older code is compatible with new versions. This is called backward compatibility.
Once the styles are prepared, they can further be given properties, most once again derived from the gui.rpy file. Some of the values are inserted directly, values that are deemed not important enough to be settable is the gui.rpy file.
Now that styles are explained, let's remove them from the code, and keep just the screen code. Well, I say just, but I'll keep the init python block as well. I'll explain what it does in a bit.
As is the case with the code block that explained the default screen code of the Main Menu in Coding GUI #1, this code alone also gives us an error. For the same reason, too - The namebox style has been deleted, but it's still referenced in the code.
# Say screen
screen say(who, what):
style_prefix "say"
window:
id "window"
if who is not None:
window:
id "namebox"
style "namebox"
text who id "who"
text what id "what"
## If there's a side image, display it above the text. Do not display on the
## phone variant - there's no room.
if not renpy.variant("small"):
add SideImage() xalign 0.0 yalign 1.0
## Make the namebox available for styling through the Character object.
init python:
config.character_id_prefixes.append('namebox')First line of the screen is style_prefix "say", so that styles with the say_ prefix are automatically assigned where possible.
After that, a long block of the window statement. This window is the dialogue box. By default, it uses the window style, but rather than being assigned by the style_prefix or the style statement, this one is assigned through the id.
This is for two reasons.
- Historical reasons. Outdated things are kept, remember?
- So that including properties inside Characters' definition can change the style.
The id can be deleted, but there's really no reason to - especially when I'm not 100% sure it wouldn't break anything.
Moving on, still inside the window's block. The first thing we encounter is the if who is not None line, which again creates an another block - a block that is run if, well, if who is not None. What does that mean?
who is one of the screen's arguments (we've talked about arguments in Screen Language Part #6), and it is the speaking Character. In a similar fashion as with the say_thought style, who is None either if a Character is not given on the dialogue line, or a Character with None for a name is.
If a Character is provided, another window is displayed. This one is the name box, a box which contains a text statement - the name of the Character speaking. The text once again has an id, for the same two reasons as the window has.
After that, there's another text statement, this one containing another argument. This argument, named what, contains the dialogue text. It once again contains an id, once again for the same two reasons.
However, unlike the texts with the ids of "window" and "namebox", which can be safely deleted from the screen if desired, this one can not be removed. The say screen always has to contain a text with the "what" id.
Last thing inside the screen is an another if statement - if not renpy.variant("small"). This one checks the device the game is currently running on, and if it's not a "small" device (currently means phones and televisions), it adds a side image if it's defined for the speaking Character (provided one is given, of course).
Side images are something that we've never talked about, and I'll definitely cover them one day in the Basics of Ren'Py series.
That's it for the screen code.
There's one more block left at the bottom - an init python block.
init python is used to set up Python code that is run when the project is launched. And to be honest, I'm confused by it. The description implies that the function should allow Character objects to style things, but I thought the id already did that.
That's the whole screen explained. Whew. Now, let's remove the things we don't need before starting to replace stuff with our assets.
From the screen code, we'll remove the following:
- The style_prefix, as we won't be using the default say_ styles (we've already deleted those)
- The if block adding the side image, as we won't be setting those up
As for the init python statement at the bottom, I will be keeping it in my file, but since we won't touch it for the rest of the tutorial, I won't be including it in further code blocks.
# Say screen
screen say(who, what):
# Dialogue box.
window:
id "window"
# If it's not a line by the Narrator
if who is not None:
# Name box.
window:
id "namebox"
# The name.
text who id "who"
# The dialogue.
text what id "what"With the screen cut down like so, this is what the first line of dialogue looks like in-game. It's... not much of a spectacle.
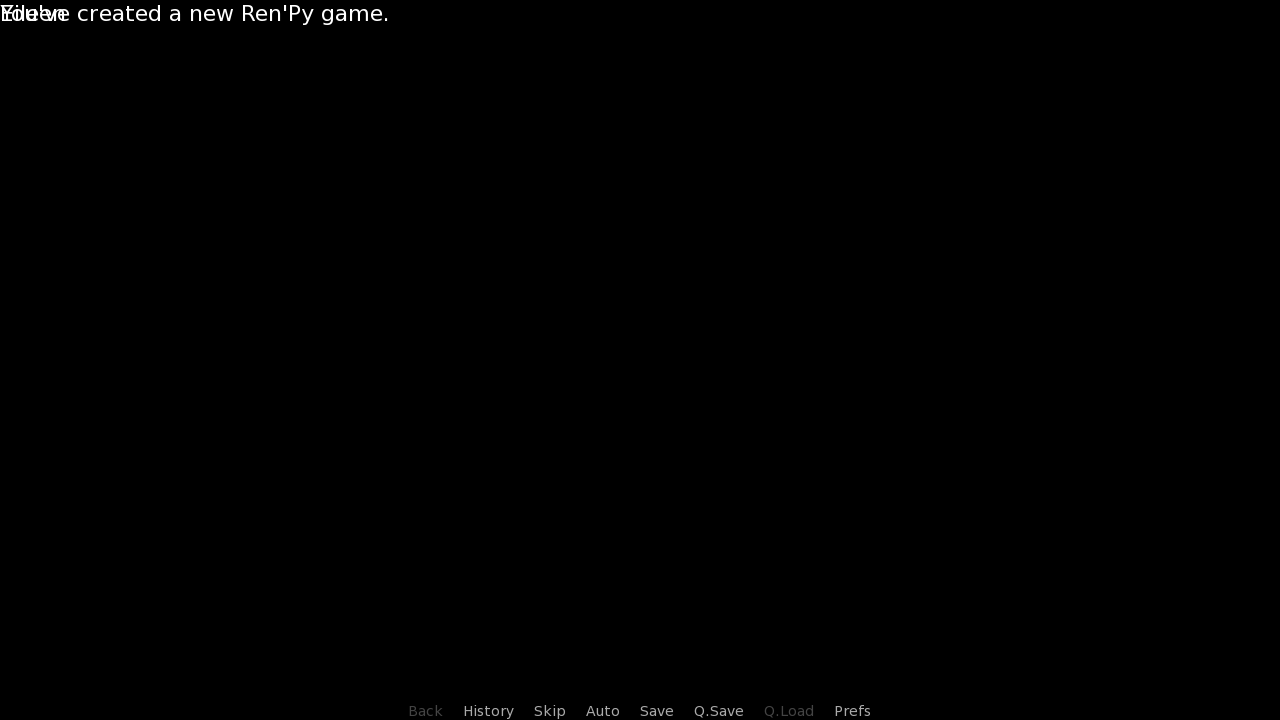
With all the styles removed, everything has default properties - This means no colors, no fonts, no positioning, etc. And when I say everything, I'm talking about the two texts and two windows. We can see both texts, obviously, but not the windows, since, unlike frames, they do not have any background by default. Let's add those backgrounds in now.
There's only one image that the assets include, textbox.png (located in afternoonGui/dialogue_box/), which is meant for the dialogue box. Usually, there's also an image for the name box, but since we don't have that, I'll use textbox.png for the name box, too.
Before I use them however, I want to resize them. It's basically a necessity for the name box, since I need it much smaller than the dialogue box. And while I'm at it, the dialogue box is a bit too large for my taste, so I'll resize it too.
The resizing is done with the image statement by adding the xysize property, value being a tuple of (width, height). image statement with properties can be seen in Basics of Ren'Py #4.
Also notice how I wrote background "textboxImage" rather than the file path to textbox.png. This is because I want to use the image defined by the image statement.
image textboxImage:
"afternoonGui/dialogue_box/textbox.png"
xysize (1280, 280)
image nameboxImage:
"afternoonGui/dialogue_box/textbox.png"
xysize (220, 90)
# Say screen
screen say(who, what):
# Dialogue box.
window:
id "window"
background "textboxImage"
# If it's not a line by the Narrator
if who is not None:
# Name box.
window:
id "namebox"
background "nameboxImage"
# The name.
text who id "who"
# The dialogue.
text what id "what"With the backgrounds of dialogue box and name box set, let's take a look at how the screen looks now.
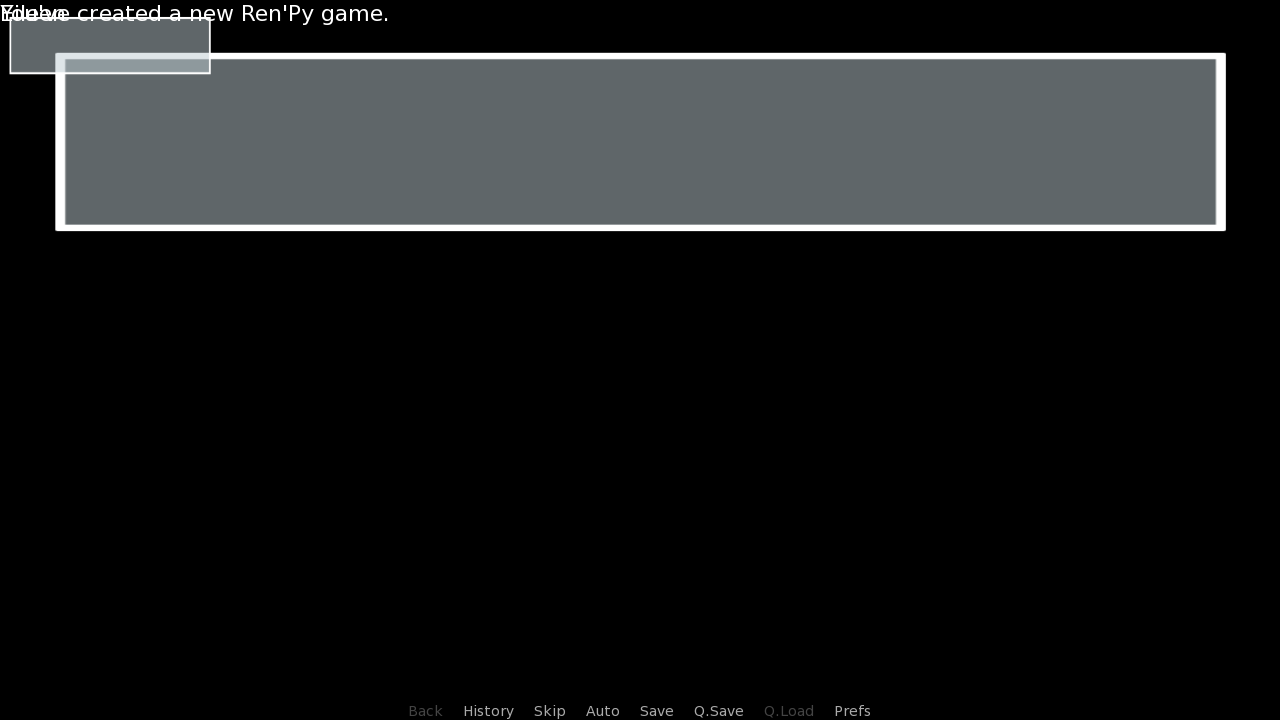
We haven't done anything to the texts, so they're still chilling in the top-left corner.
So are the windows with our new backgrounds. The reason why the windows aren't entirely in the corner is that, the image file has some transparent area around the box.
Next, let's change their position. In my case here, it was mostly a trial-and-error process to see what looks nice, but often assets include a .psd file that has all the screens prepared, and taking the position and area from there is much easier.
image textboxImage:
"afternoonGui/dialogue_box/textbox.png"
xysize (1280, 280)
image nameboxImage:
"afternoonGui/dialogue_box/textbox.png"
xysize (220, 90)
# Say screen
screen say(who, what):
# Dialogue box.
window:
id "window"
background "textboxImage"
ypos 470
# If it's not a line by the Narrator
if who is not None:
# Name box.
window:
id "namebox"
background "nameboxImage"
pos (60, -30)
# The name.
text who id "who"
# The dialogue.
text what id "what"Positions changed. Update on how it looks:
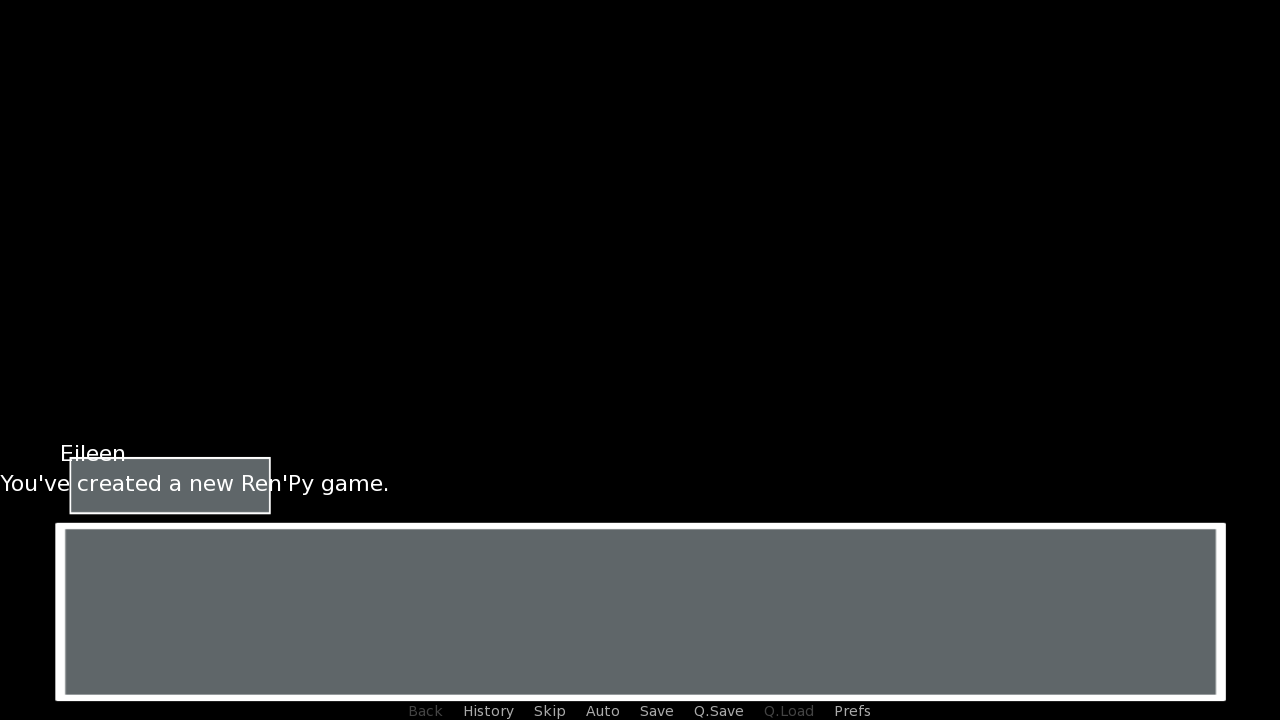
Moving the main (dialogue) window will move both the name box (and subsequently, the name text) and the dialogue text. With texts still not having any properties, they're still sitting in the top-left of their containers - name in the namebox window, and dialogue in the dialogue window.
And that's the next step - Another trial-and-error to see where the texts look nice. After a while, I came up with the following positions...
image textboxImage:
"afternoonGui/dialogue_box/textbox.png"
xysize (1280, 280)
image nameboxImage:
"afternoonGui/dialogue_box/textbox.png"
xysize (220, 90)
# Say screen
screen say(who, what):
# Dialogue box.
window:
id "window"
background "textboxImage"
ypos 470
# If it's not a line by the Narrator
if who is not None:
# Name box.
window:
id "namebox"
background "nameboxImage"
pos (60, -30)
# The name.
text who:
id "who"
pos (60, 34)
# The dialogue.
text what:
id "what"
pos (82, 76)...which places the name and dialogue neatly inside their respective windows.
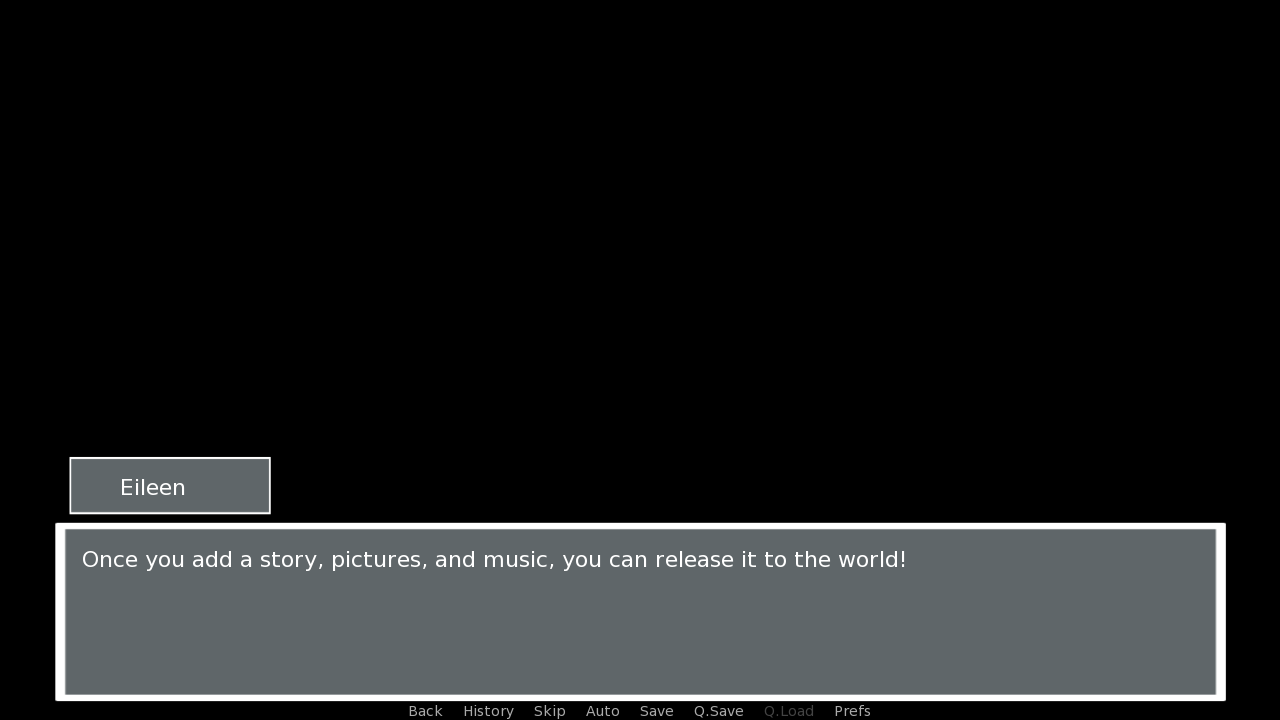
And we're almost done with the screen. All that remains is to style the texts.
To the name text, we're giving:
- font named minerva.ttf, located in afternoonGui/fonts/
- size of 42 to make it way larger, after which I had to slightly adjust the position
- kerning of 3, which slightly increases the space between individual letters - I found minerva.ttf's letters to be very close to each other
And similar properties to the dialogue text:
- font named gothic.tff, which is less fancy that the font of the name, also located in afternoonGui/fonts/
- size of 28, making it larger but not as large as the name
image textboxImage:
"afternoonGui/dialogue_box/textbox.png"
xysize (1280, 280)
image nameboxImage:
"afternoonGui/dialogue_box/textbox.png"
xysize (220, 90)
# Say screen
screen say(who, what):
# Dialogue box.
window:
id "window"
background "textboxImage"
ypos 470
# If it's not a line by the Narrator
if who is not None:
# Name box.
window:
id "namebox"
background "nameboxImage"
pos (60, -30)
# The name.
text who:
id "who"
font "afternoonGui/fonts/minerva.ttf"
size 42
kerning 3
pos (60, 20) # Y had to be adjusted
# The dialogue.
text what:
id "what"
font "afternoonGui/fonts/gothic.ttf"
size 28
pos (82, 76)And this is the result of it:
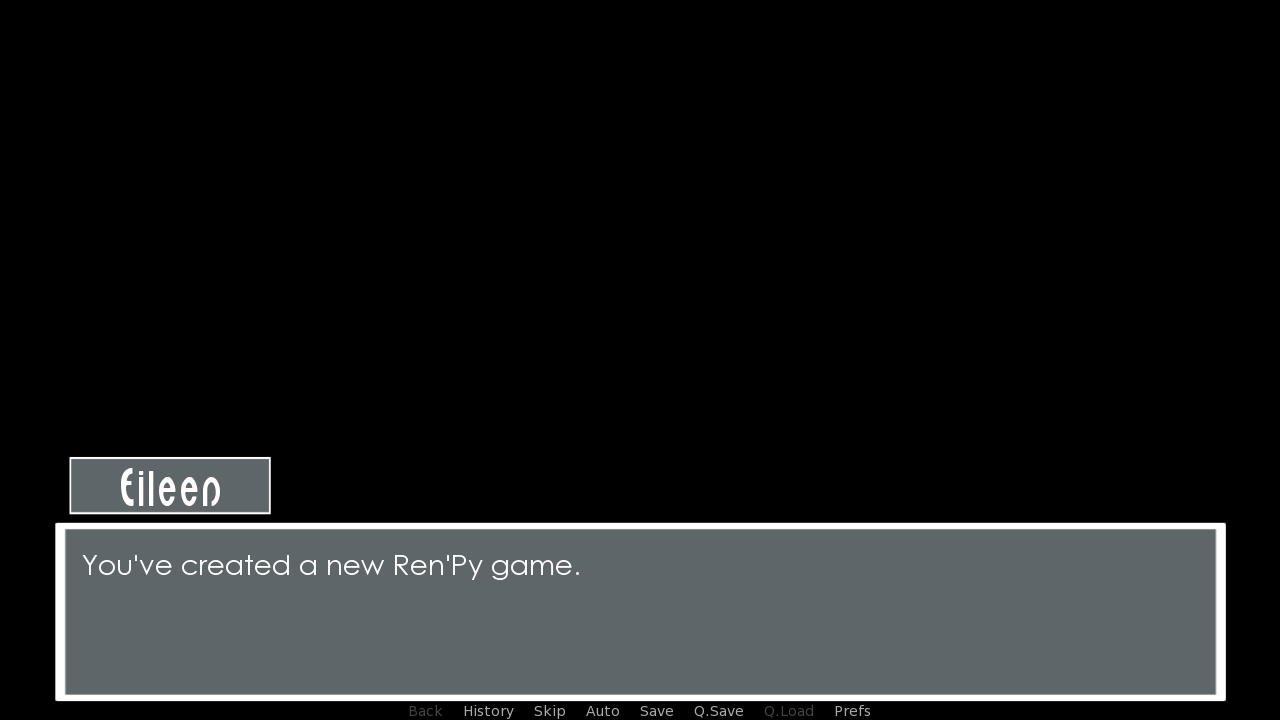
I love changing the say screen, since it makes such a huge impact. It's undoubtedly the most viewed screen in every visual novel, as it's shown with every single line of dialogue.
Actually now that I think about it, that's not true 100% of the time, but it usually is.
And that's the end. Time for our usual summary of what we've gone over today:
- Where the default say screen code is and how it looks in it's entirety.
- How the default styles make the screen look and how they function code-wise.
- How the default say screen functions.
- Stripping say screen as much as we could.
- (Resizing the images for backgrounds with the image statement.)
- That giving the windows and texts ids will let Character objects change how they look.
- Process of styling the screen.
And because I thought it sounded kinda cool in last tutorial, what did we learn overall?
- How to make a very nice looking dialogue screen.
A lot of images in this tutorial. It was a great journey that we went through, changing the screen code bit by bit... And there was little of new stuff here, too.
I haven't definitely decided which screen will be next, but it will either be choice, screen of the in-game menus, or preferences.
As always, thank you for reading.