
Name Input
Letting players choose a name for their character
In pretty much every visual novels where the main character represents the player, players get to pick a name for them. I, as a player, greatly appreciate being able to identify myself with the main character in games, and letting me choose the name helps that tremendously.
I've also seen a game that let the player name all main characters, and although that might sound like too much, the game actually made it work pretty nicely. It was much easier to remember all of the cast after I had to think, even if very briefly, about their name - even if I kept the default, I still noticed their name more than I would from just reading it in a dialogue line.
The game in question is NSFW, so I will not state the full name here, but its acronym is LiaB, try to figure out the name from that if you're curious.
So yeah, that's what we're doing today - I'll teach you how to make a very simple script that lets the player choose a name for their character.
First, let's create a short label to start with. Nothing unusual, just a Character defined and the start label with one line of dialogue.
define protag = Character("The Protagonist")
# The game starts here.
label start:
protag "I am the protagonist of this story!"
returnNext, we will need a variable that can hold the character's name. Since the variable will start with a default value and it later changes to whatever the player chooses, we need to default it, not define it.
This is a very common mistake, so I stress it at every chance I get - define is for things that stay the same, default for things that change at some point.
Since that variable holds the name, we hook it up into the Character with string interpolation - string of the variable name surrounded by square brackets, passed to the Character as the name.
I talk about interpolation in two of my tutorials, Basics of Ren'Py #7 and Python in Ren'Py #1.
default nameOfTheProtagonist = "Default Name"
define protag = Character("[nameOfTheProtagonist]")
# The game starts here.
label start:
protag "I am the protagonist of this story!"
return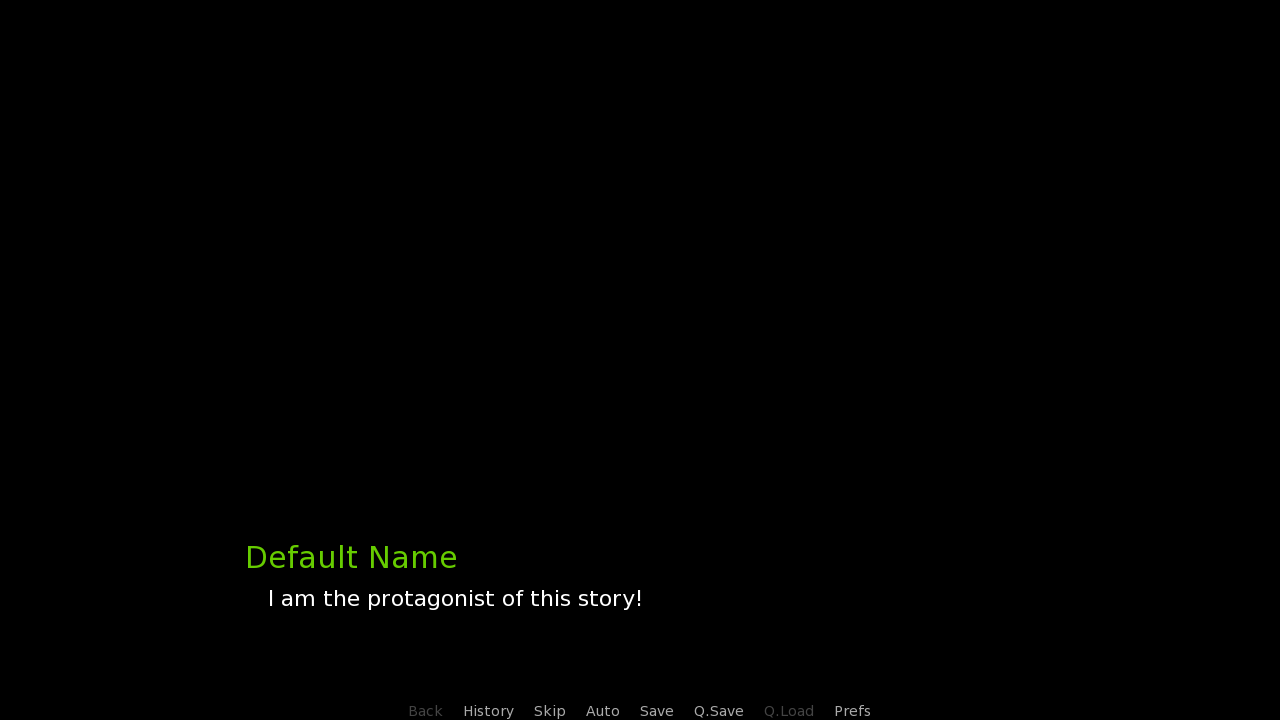
Now, how do we actually get the input from the player? Ren'Py has a very neat function for specifically this purpose, called renpy.input. This uses the default input screen (from screens.rpy) to ask the player for input. Once the Enter key is pressed, the input will be stored inside the nameOfTheProtagonist variable, and the name of protag will update for the last dialogue line.
default nameOfTheProtagonist = "Default Name"
define protag = Character("[nameOfTheProtagonist]")
# The game starts here.
label start:
protag "I am the protagonist of this story!"
protag "What should my name be?"
# Let player type in
$ nameOfTheProtagonist = renpy.input("The Protagonist's name will be: ")
protag "Yes! It's like that name was meant to be."
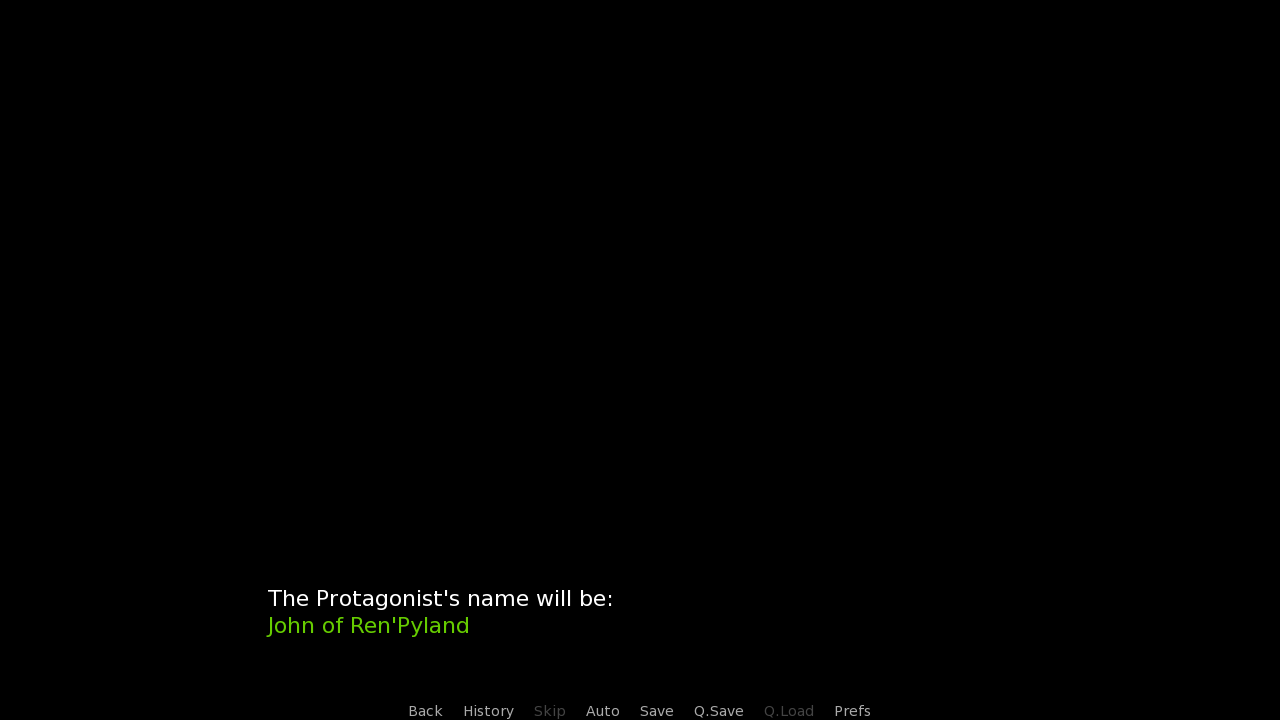
returnThis is what the default input screen looks like after I've typed in a name of my choice...
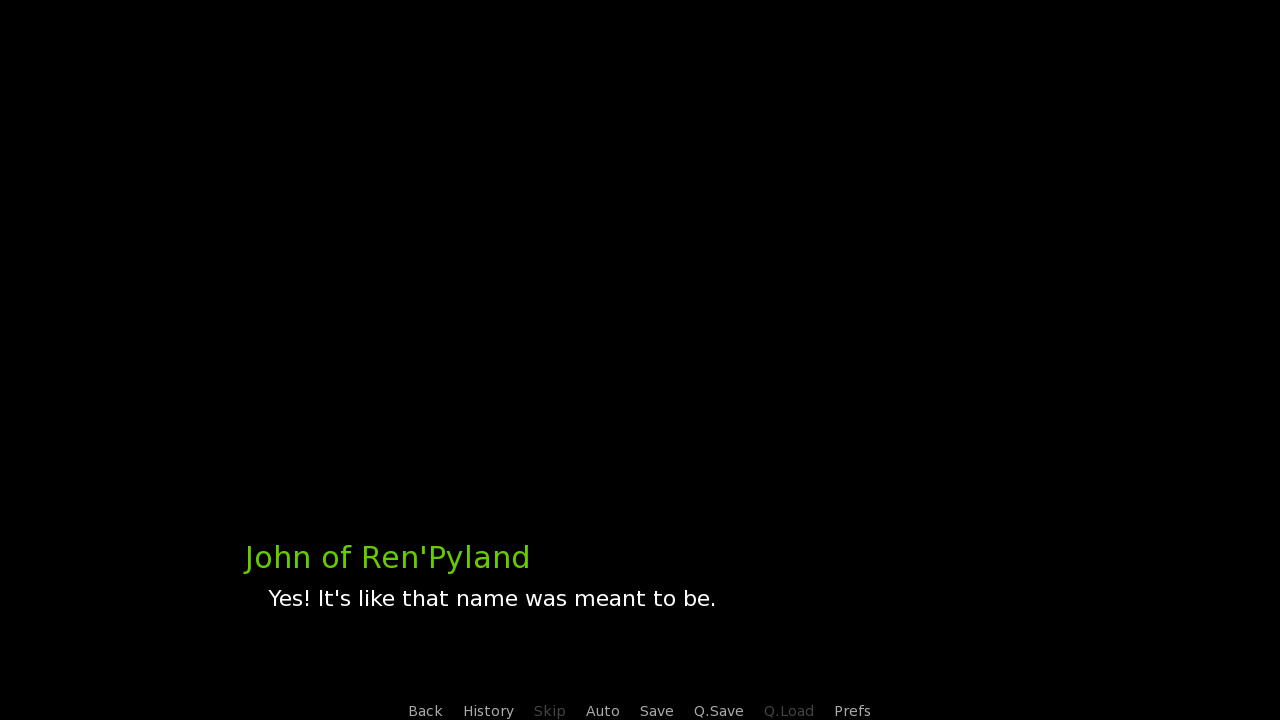
...and this is the name changed on the last line:
The renpy.input function is the core of all this. We've already got it working nicely, but there's still plenty of room for improvement.
As such, in the next code block, I've done some changes:
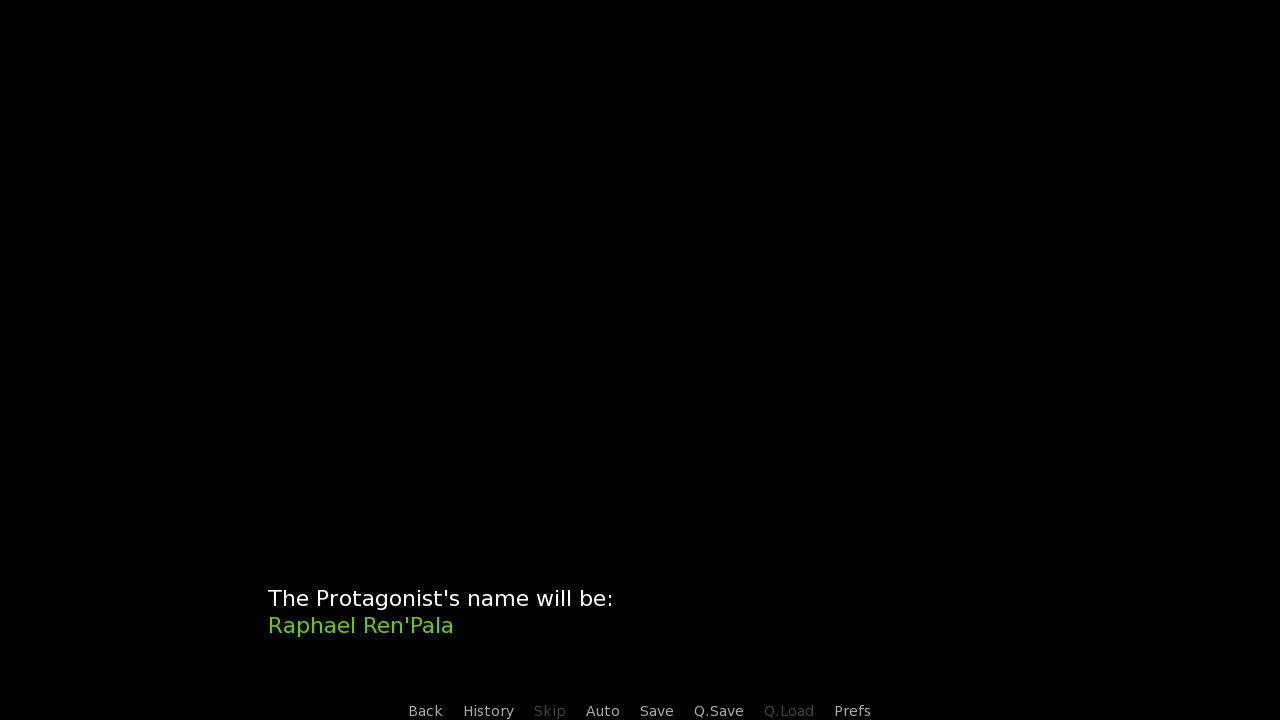
- I've added the default argument for the renpy.input function, which is the default name that will show be written in the input.
- I've added the .strip function that follows renpy.input. strip removes spaces at the beginning and the end of the input - preventing situations like these:
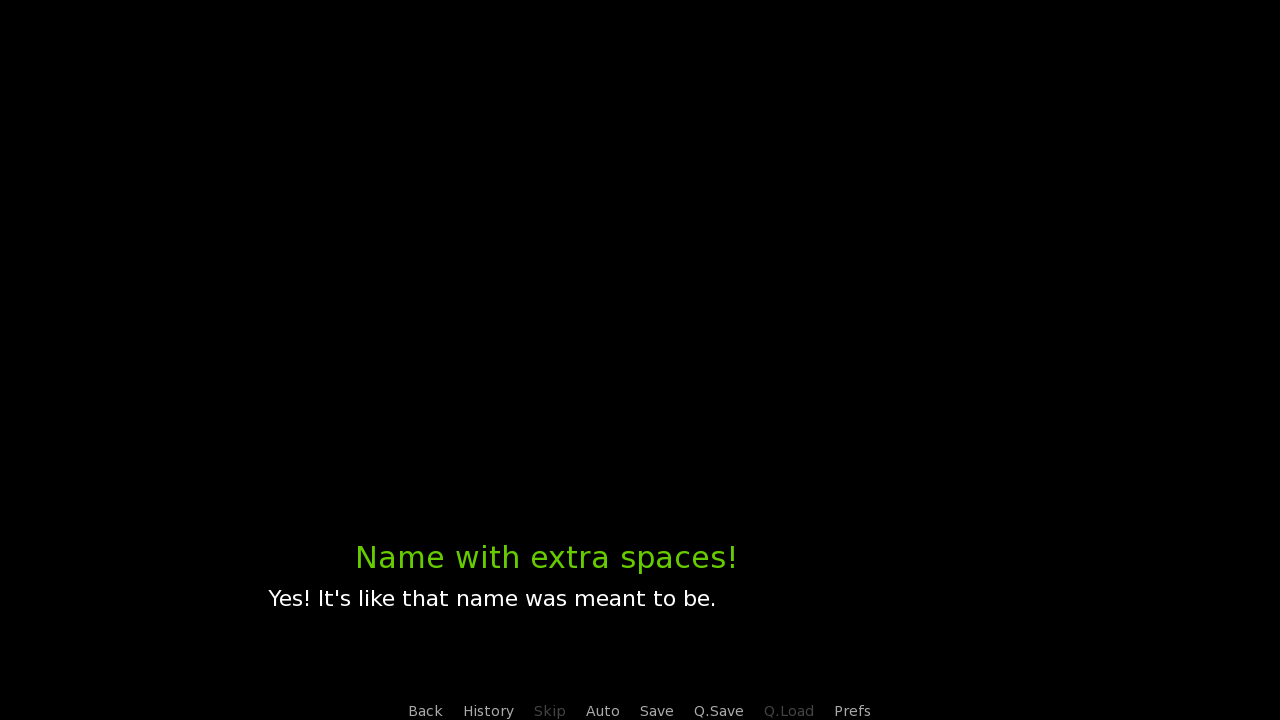
- Finally, I've created a local label called nameChange and put the input code there. If the player provided an empty input, the if statement will make the game jump back to the nameChange label, and encounter renpy.input again. Only once it gets past the if statement is the name set into the nameOfTheProtagonist variable.
With all these changes, the resulting code looks like so:
default nameOfTheProtagonist = "Default Name"
define protag = Character("[nameOfTheProtagonist]")
# The game starts here.
label start:
protag "I am the protagonist of this story!"
protag "What should my name be?"
label .nameChange:
# Let player type in
$ typedIn = renpy.input("The Protagonist's name will be: ",
default = "Raphael Ren'Pala").strip()
# If they typed in nothing, go back to .nameChange
if typedIn == "":
jump .nameChange
# Change the name variable to the player typed in
$ nameOfTheProtagonist = typedIn
protag "Yes! It's like that name was meant to be."
returnAs for local labels, they're the same as regular labels, but more compact. There's no need to create a separate label for the input code, unless we plan to re-use it - which, as I said before, I've also encountered in a game, so I think it might be a good idea to include that version here, too!
If you only need to use the code once, feel free to use the version from the last code block encountered, that one is all set and ready. But don't leave the tutorial yet! I've got more stuff coming up.
In the re-use version, we put the input code into a new label called nameInput, and get the player's input from there by calling the label and returning the value gotten. Whatever a label returns gets stored in the _return variable, so the name can be then set to it. This is explained in Basics of Ren'Py #6.
The example shows all this off by changing names of two Characters instead of one, with no default name in the input provided this time - we wouldn't want to get the Raphael Ren'Pala suggestion for the antagonist!
As for the input code itself, I created an endless loop with while True which isn't exited until the player has typed something in. Only once they do will the return occur, which will break the loop and exit the nameInput label.
The reason for this is that jump cannot be used with label arguments, and I don't want to pollute the call stack by using call (once again explained in Basics #6).
default nameOfTheProtagonist = "Protag Default Name"
default nameOfTheAntagonist = "Antag Default Name"
define protag = Character("[nameOfTheProtagonist]")
define antag = Character("[nameOfTheAntagonist]")
# The game starts here.
label start:
call nameInput(prompt = "The Protagonist's name will be: ")
$ nameOfTheProtagonist = _return
call nameInput(prompt = "The Antagonist's name will be: ")
$ nameOfTheAntagonist = _return
antag "I am really evil, and will take over the world!"
protag "Not as long as I stand!"
return
label nameInput(prompt):
# Create an endless loop
while True:
# Let player type in
$ typedIn = renpy.input(prompt).strip()
# If something was typed in, return it
# This will store it in the _return variable and break the loop.
if typedIn != "":
return typedInAnd that's it. A very simple script in two versions that adds a whole lot to the game!
When someone on my Discord Server wanted help with creating a name input, I knew I had to do a tutorial on it - as I've already mentioned at the beginning, it's a very common thing to include in visual novels, and I thought this tutorial could help many many people.
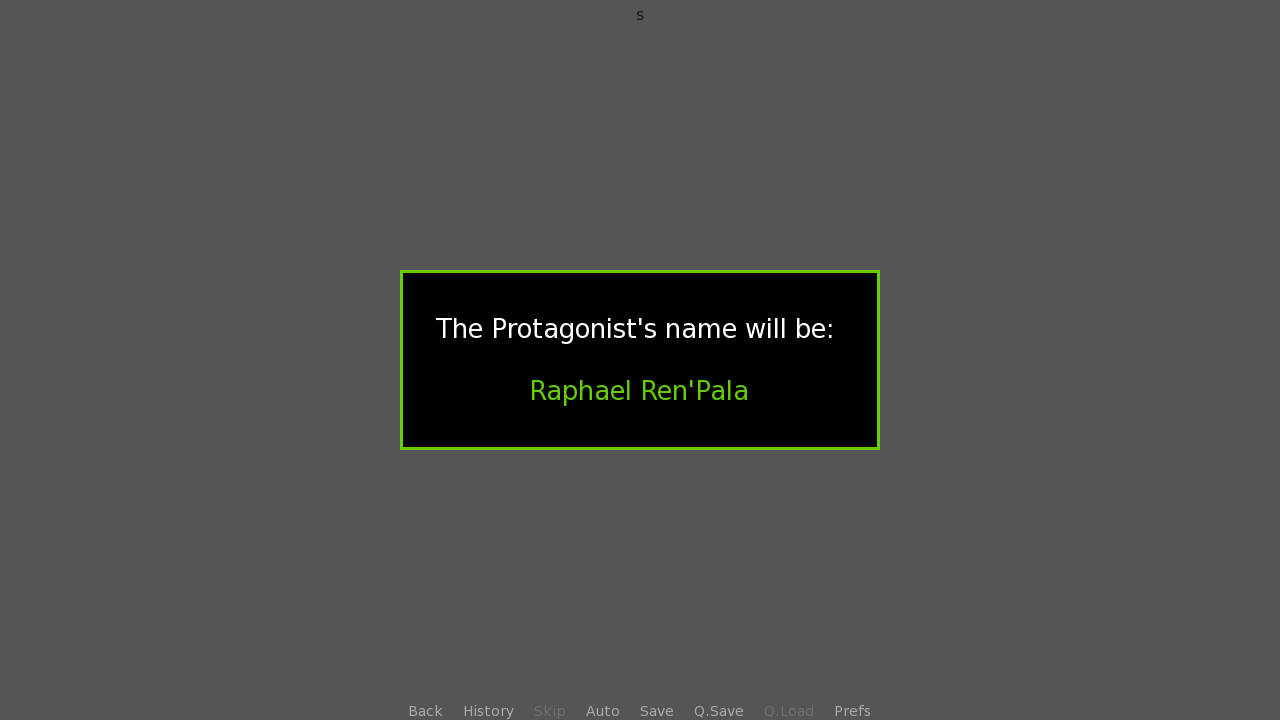
However! It wouldn't be one of LezCave tutorials if I didn't go an extra mile. Since the default input screen is very dull, I thought I would create a simple custom screen that the renpy.input could use instead. Feel free to take it and use it - I personally think it came out looking very nice!
Let's look at the code before I get to explaining it.
# Define characters that can be typed in. We allow:
# - Uppercase letters (In ascii_letters)
# - Lowercase letters (In ascii_letters)
# - Numbers 0 to 9 (In digits)
# - A space
init python:
import string
define allowedChars = string.ascii_letters + string.digits + " "
# Black image
image black = Solid("000")
# Our custom input screen
screen nameInput(prompt):
# Transparent background
add "black":
alpha 0.5
# Frame in the middle
frame:
align (0.5, 0.5)
xysize (480, 180)
# Vbox inside the frame
vbox:
align (0.5, 0.5)
spacing 30
# Prompt passed to the screen
text prompt:
xalign 0.5
size 26
# Input
input:
id "input" # Needed for default argument
xalign 0.5
size 26
pixel_width 440
allow allowedChars
default nameOfTheProtagonist = "Default Name"
define protag = Character("[nameOfTheProtagonist]")
# The game starts here.
label start:
protag "I am the protagonist of this story!"
protag "What should my name be?"
label .nameChange:
# Let player type in
$ typedIn = renpy.input("The Protagonist's name will be: ",
default = "Raphael Ren'Pala",
screen = "nameInput").strip()
# If they typed in nothing, go back to .nameChange
if typedIn == "":
jump .nameChange
# Change the name variable to the player typed in
$ nameOfTheProtagonist = typedIn
protag "Yes! It's like that name was meant to be."
returnTo start, I will point out straight away that I've used the non-re-usable version of the script again, and the only change done to it is the screen argument for the renpy.input function, giving a string with a name of the custom screen that I've created.
First, I plan to add one more change - allow only specific characters in the input, so that the player can't type in special characters. The characters allowed are stored in the allowedChars variable, and I imported them from the string Python module, so that I don't have to define them as "abcdefghijklmnopqrstuvwxyz", even though that's also an option.
As the comment states, uppercase and lowercase letters are included, gotten from the string.ascii_letters variable, so are digits 0 to 9, gotten from the string.digits variable, and so is a space.
Moving on, I define a black Solid displayable with the image statement (displayables first mentioned in Screen Language #3). This is used by the add statement on first lines of the screen, to darken the background behind the input.
Before delving into the main part of the screen code, I'll mention that the screen, which I've named nameInput, takes the prompt argument (just like the default input screen does) which stores the question provided to renpy.input.
The main part of the screen is a frame centered to the middle of the screen. The frame is given an appropriate size and includes a vbox that holds the two most important statements.
First of them is of course the text with the prompt. The text is aligned to the center of the vbox (and by extent, the frame), and is made larger with the size property.
Second of them is the beating heart, the input statement. This is also the one with most properties, so let's debunk them one by one:
- id allows the screen to communicate with renpy.input properly. For example, without it, the default of "Raphael Ren'Pala" that we provide wouldn't be used.
- Just like with the prompt, we align it to the middle of the vbox.
- We make the input as large as the text, I thought that looked appropriate.
- pixel_width to make sure the input the player types in doesn't exceed the frame width.
In practice, you'd want to change this based on the width of your namebox. - We allow only certain characters in the input with the allow property, which is where the defined variable allowedChars from the beginning of the code finally gets used.
And voilá. Some simple, nicely written code results in a simple, nice looking screen. I've added the scene statement to the label for a grey background, so that the screen stands out properly!
And that's the name input tutorial all finished!
I know it's slightly different from my other tutorials, but I'll do a summary anyway.
What have we gone over in this tutorial?
- Using a variable for a Character's name with the help of interpolation
- Using the renpy.input function
- Using the default and screen arguments inside renpy.input
- What the strip function does
- How to make a loop with the jump statement
- How to re-use the code with a label call
- Creating a custom screen for the input
- How use the allow property of input to allow only certain characters inside
I enjoyed writing this one a lot. I hope you've enjoyed, and as always, thank you for reading.